What Will You Need?
Paper (A4)
Scissors
bamboo skewer (or a straw)
Sellotape
String
Hole punch
Ribbon ((optional))
Tissue paper ((optional))
Implementation
Step 1
Place the piece of paper (or you can use lightweight card) in front of you and fold in half (so the fold is halfway along the longest edge).
Step 2
Mark a point with a pen along the top edge, about 3cm to the right of the folded edge (the top left corner). Then make a point along the bottom edge, about 3cm from the bottom right corner. Join up the lines. This is your first fold line.
Step 3
Fold the top right corner down along the fold line you just marked.
Step 4
Turn over your piece of paper over (flip it) and fold the other side to match the first (along the same fold line). The two corners should meet once you have folded this side
Step 5
Unfold one of the flaps and lay your kite in front of you, flat, with one flap folded downwards. Tape all along the fold.
Step 6
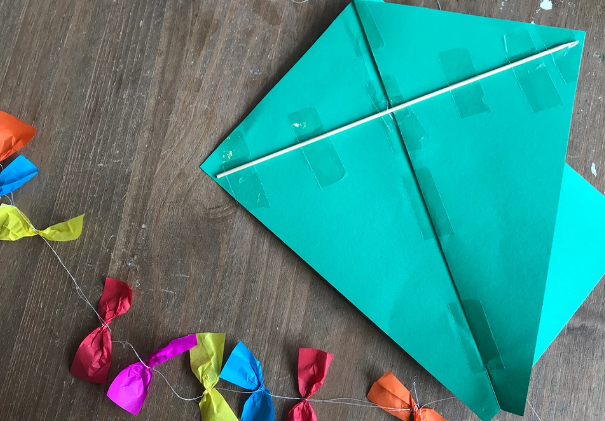
Lay a wooden skewer across the kite, from corner to corner, and tape in place
Step 7
Flip your kite upside down and mark a hole – a quarter of the way down the fold – from the top of the kite. Cover the hole with tape to reinforce it.
Step 8
Use a hole punch or scissors to punch a hole where you have marked. Tie the hole with string – knot the string several times to make sure it won’t come loose in the wind.
Make a paper bow tail
Step 1
Cut some small strips of tissue paper in all different colours. Pinch and twist each one in the middle to make a series of paper bows.
Step 2
Take a length of string (we’ve just used cotton thread) and tie the bows to the string, one at a time, to make a string of bows. Punch a hole at the bottom of the kite and thread the bows to it.
Credit: Orginal Source
Impact
Encourages EA & D, UW, C & L
Category
- Communication and Language
- Personal , Social and Emotional Development
- Physical Development
- Literacy
- Mathematics
- Understanding the World
- Expressive Arts and Design

